所有分类
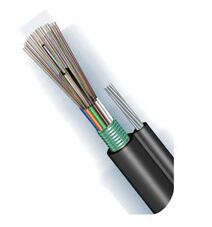
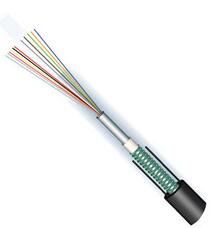
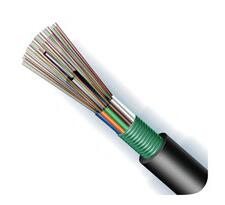
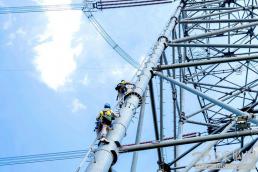
- 导线 地线 碳纤维导线 玻璃绝缘子 复合绝缘子 瓷绝缘子 钢管塔 角钢塔 光缆 光缆附件 电缆 电力金具 电缆附件 其它
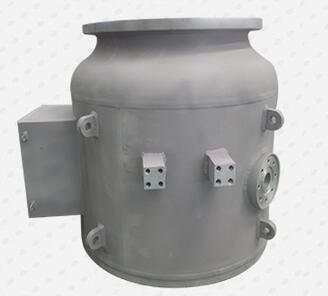
- 配电柜 配电箱 配电变压器 接线端子 防爆配电箱 箱式变电站 动力配电箱 照明配电控制箱 配电器 配电屏 补偿装置 电源柜 配电盘 接地装置 电容器 绝缘件 安全工具 壳体 避雷器 接触器
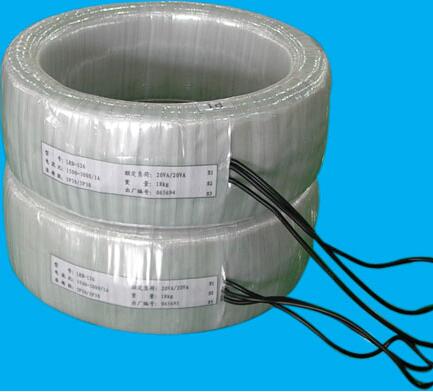
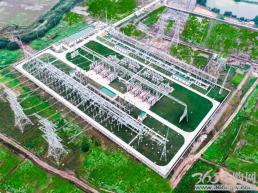
- 变电站 稳压器 变压器及保护装置 电抗(阻)器 整流器 电压互感器 电流互感器 调压器 母线 母线槽 桥架 套管 滤波器 其它
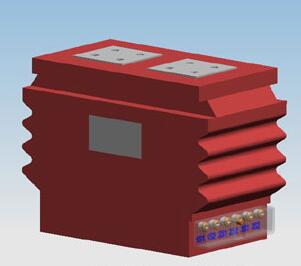
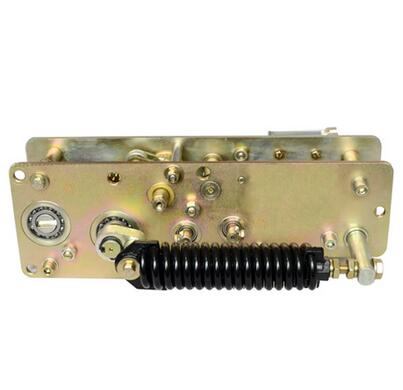
- 断路器 开关柜 隔离开关 负荷开关 接地开关 分段器 重合器(闸) 熔断器 接触器 高压开关GIS 其它
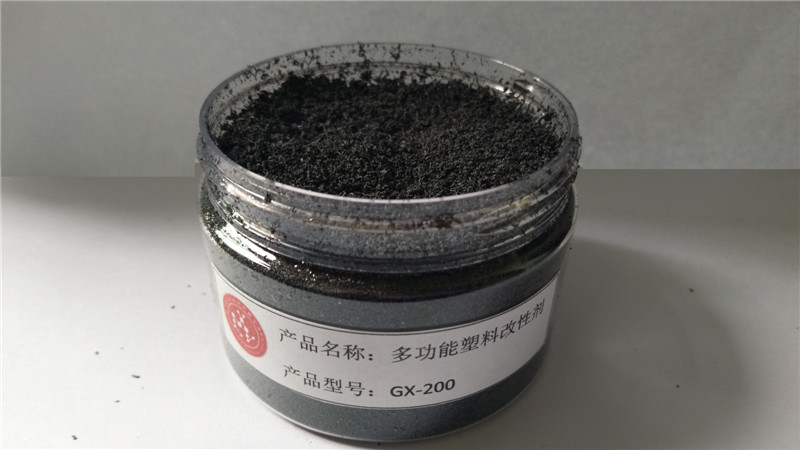
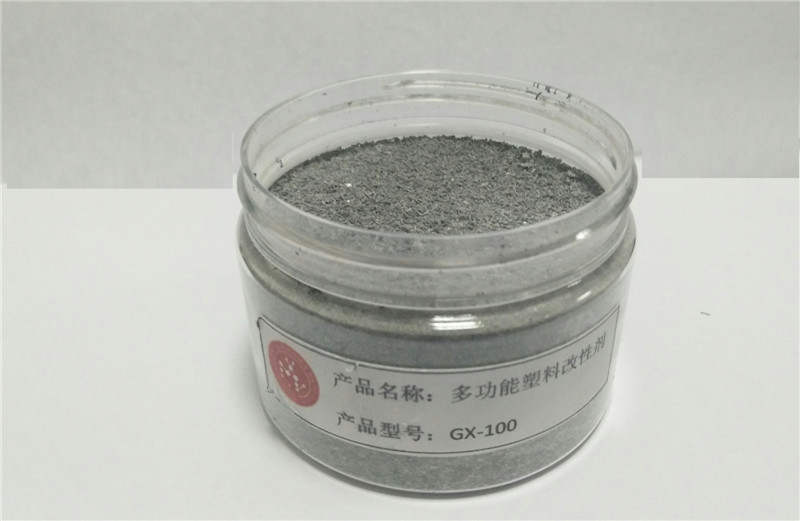
- 导电材料 绝缘材料 电力工业合金材料 磁性材料 电子材料 清洁剂 防静电产品 半导体材料 其它
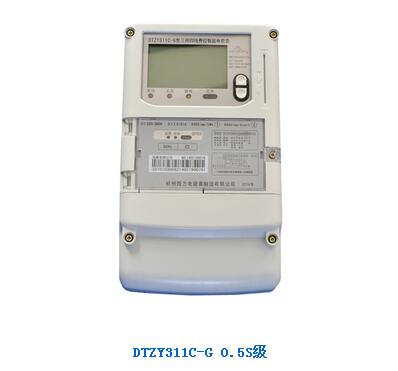
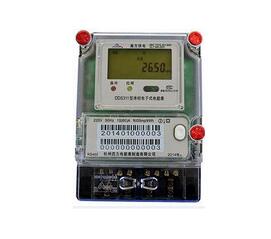
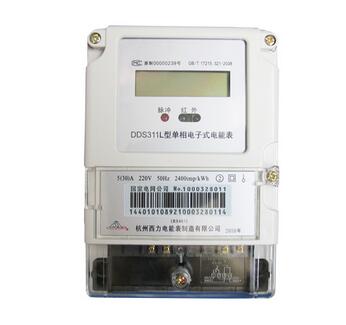
- 单相电子式电能表 三相电子式电能表 单相多功能电能表 三相多功能电能表 电能计能箱 管理终端 集中器 采集器 采集终端 其它
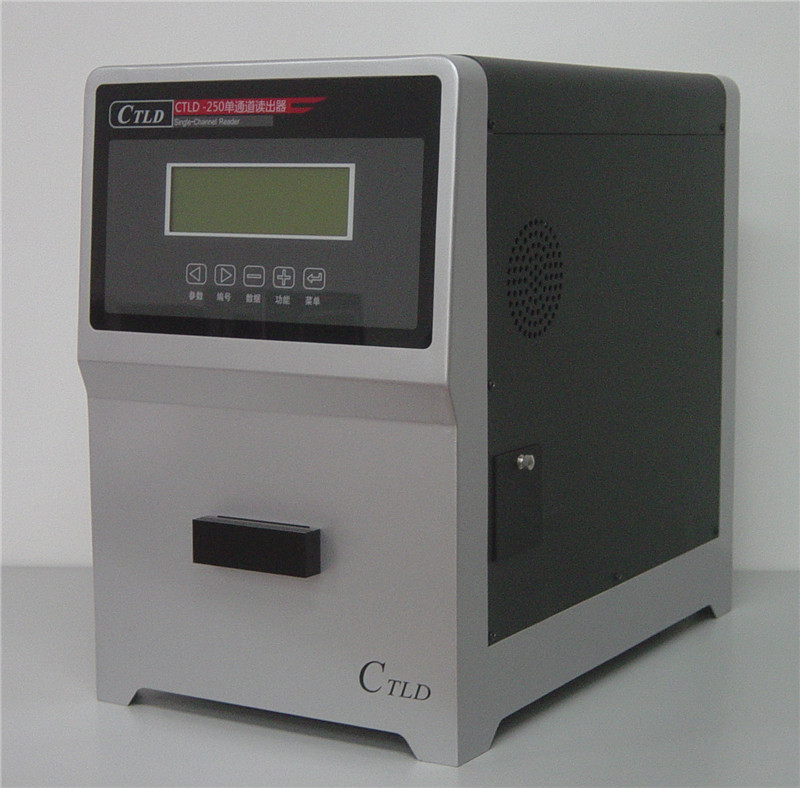
- 红外热像 电度表 无损检测仪器 通信弱电仪器 施工维护仪表 电气仪表 电工仪表 化工仪表 在线监测仪器仪表 测量仪器 分析仪器 传感仪器 测试(实验)仪器、
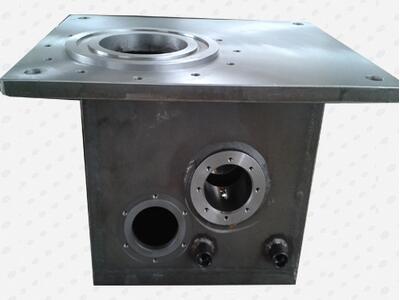
- 绝缘耐压试验设备 变压器试验设备 电能表检定装置 互感器计量检测设备 接地装置检测设备 继电保护测试设备 油分析设备开关检测设备 避雷器测试设备 运行线路检测 气体检测仪器 电机检测设备 在线监测设备巡检设备 测温设备 测距设备 测速设备
- 交换调度设备 微波设备 光通讯设备 载波设备 无线设备 交换机 光纤设备 网卡 其它
- 工业过程控制 综合自动化系统 低压电器 电能计费及抄表系统 伺服系统 数字应用 嵌入式 执行元件 调频调速 继电保护 配电自动化 工业控制 安防 电力仿真 输电自动化 信息分析计算 变电站自动化 其它
- 脱硫装置 脱硝装置 电除尘器 袋式除尘器 污水处理设备 油污处理设备 LED灯具 其它
- 发电机设备 锅炉设备 新能源设备 风电设备 光伏设备 核电设备 水电设备 发电原料 其它 柴油机发电设备 柴油机 发电机组 电机


 京公网安备11010802031187号